I’ve tried making the traditional French baguettes but although perfectly edible they we just that little bit too close textured for me – my mistake I guess but I do not know how to change what I am doing wrong.
So I decided to try these Vietnamese Banh Mi Baguettes – supposedly lighter and less crusty – let’s see!
INGREDIENTS
250g Plain Flour
180ml Tepid Water
1.5 teaspoon Dried Yeast
2 Teaspoons Sugar
1 Teaspoon Salt
Time!
METHOD
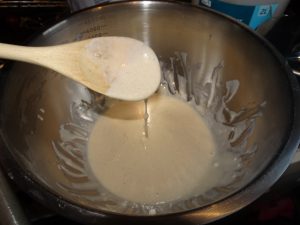
- Put the water, yeast & sugar into a mixing bowl and stir add half of the flour and mix to form a batter
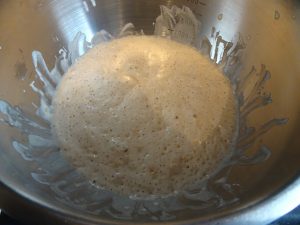
- Cover the bowl and leave in a warm place for 2-3 hours until the batter is bubbling well
- Add the rest of the flour and the salt and mix (do not use a fork or a whisk or you will need arms like Arnold Schwarzenegger plus you will be forever picking the dough off the tines
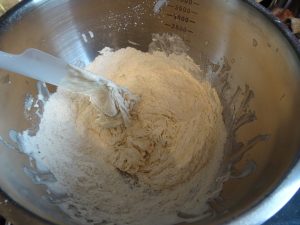
- When the dough is all in one piece turn it out onto a lightly floured surface and start kneading – just keep folding initially then stretch and fold knead – then just roll it about a lot (because you will be tired by now!)
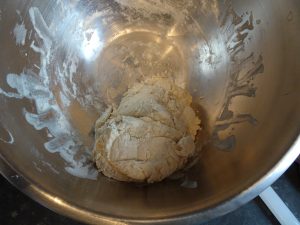

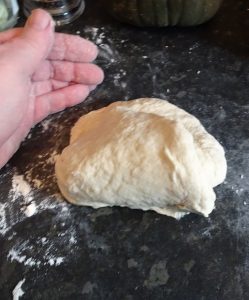
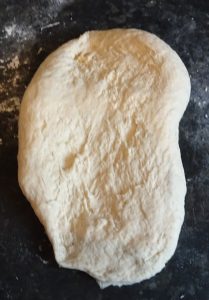
- When the dough has become a soft, smooth, elastic ball that springs back when poked with a finger simply pull the sides to the bottom, so that and creases are underneath, and place the ball back in the mixing bowl

- Cover and leave in a warm place for 1 hour or until doubled in size
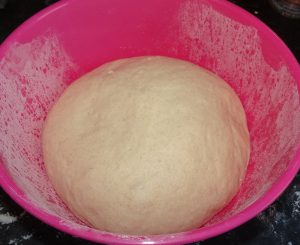
- Gently prise/roll the ball onto a floured surface without deflating the dough
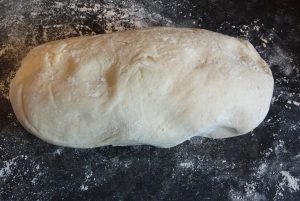
- Cut the dough into 3 equal pieces
- You will notice that the dough on what was the top and sides of the ball will be a bit dry. Fold the dry bits into the centre and make 3 smaller balls. Again, stretch the wrinkles and creases to the bottom of the ball. (Easier to do with two hands!)
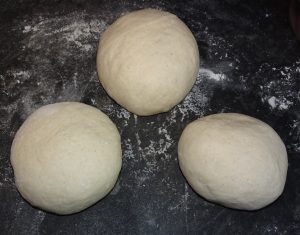
- Cover and relax the dough (and yourself!) for 10 minutes
- Take a dough ball and slam it on the work surface 3 times
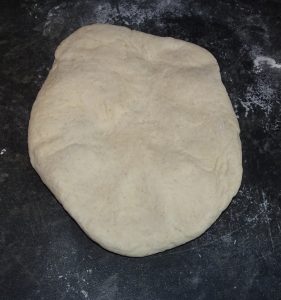
- Flatten the dough out with the flats of your hands then roll it up and pinch the seal to the join
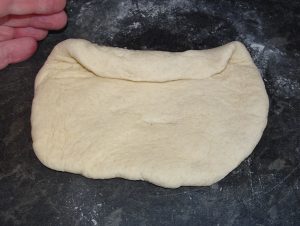
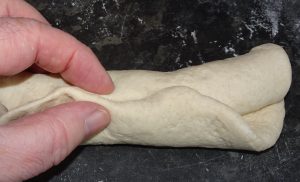
- Roll the dough into the desired shape – cylindrical or tapered at the ends and place the 3 rolls onto baking parchment, cover and rest for 1 hour or until doubled in size
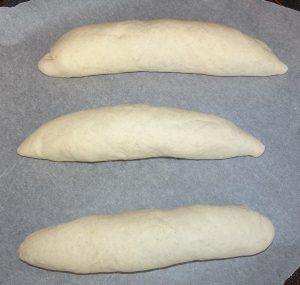
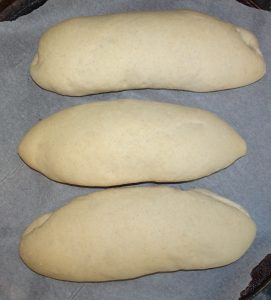
- Place a dish of boiling water & your baking tray in the oven and crank the heat up to 220-230°C at least 20 mins before baking
- Slash the rolls with a very sharp knife or razor blade at a 45° angle just off centre of the top of the roll – my knife was too blunt as the cuts were a bit rough
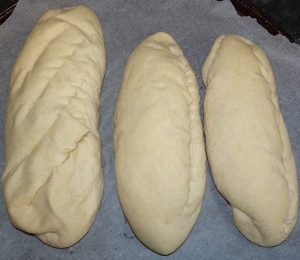
- Lightly spray the rolls with water, spray the oven with water, place the rolls in the oven and bake for 8 minutes
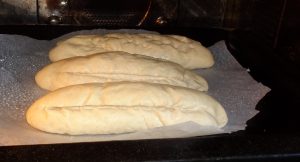
- Quickly remove the baking tray from the oven and turn around so that the rolls cook evenly. Spray the rolls again and pop the tray back in the oven for another 10-12 minutes until golden brown
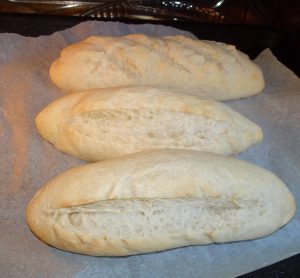
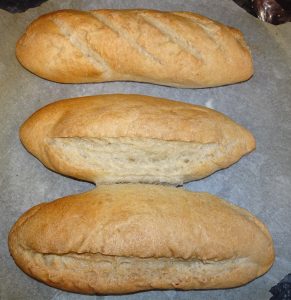
- If the bottoms of the rolls are not brown enough to your liking then switch off the oven, remove the water dish, flip them over and pop back in the oven for 3-5 minutes
- Allow to cool before eating – cutting/breaking them open too soon will release the moisture that you have work so hard to retain
- Yummy

